"*" indicates required fields

Choosing an Indoor Perimeter Led Display Screen is more than selecting a bright panel.
It affects visibility, player focus, brand presentation, and venue atmosphere. The wrong choice can create distracting flicker, uneven color, or harsh glare across polished floors. Those problems become obvious during live events.
Nick Holonyak Jr., the inventor of the first practical visible-spectrum LED, described the technology as “the ultimate solid-state light source.” His words remain relevant. Modern LED performance still depends on careful engineering, not brightness alone.
This guide explores seven practical considerations for choosing an Indoor Perimeter Led Display Screen. Pixel pitch matters. Viewing distance matters more than many buyers expect. A screen designed for close spectators needs finer detail and controlled brightness. A distant audience may accept a wider pixel pitch.
Refresh rate also deserves attention. Fast camera movement can expose weaknesses through scan lines or image tearing. Cabinet weight, flexible angles, maintenance access, and signal stability affect daily operation. So does the control system.
Do not ignore the venue itself. A low-ceiling arena, a small training hall, and a large stadium have different visual demands. Measure before comparing prices.
Budget is important. It is not everything.
A cheaper screen may require more service visits, spare modules, or difficult panel replacement. I have seen specifications look impressive while real viewing performance felt disappointing. That is a useful warning. Product sheets cannot replace a live demonstration, independent testing, and a clear warranty.
The best decision balances image quality, safety, serviceability, energy use, and long-term reliability. Performance should be judged from the seats, not only from the showroom floor.
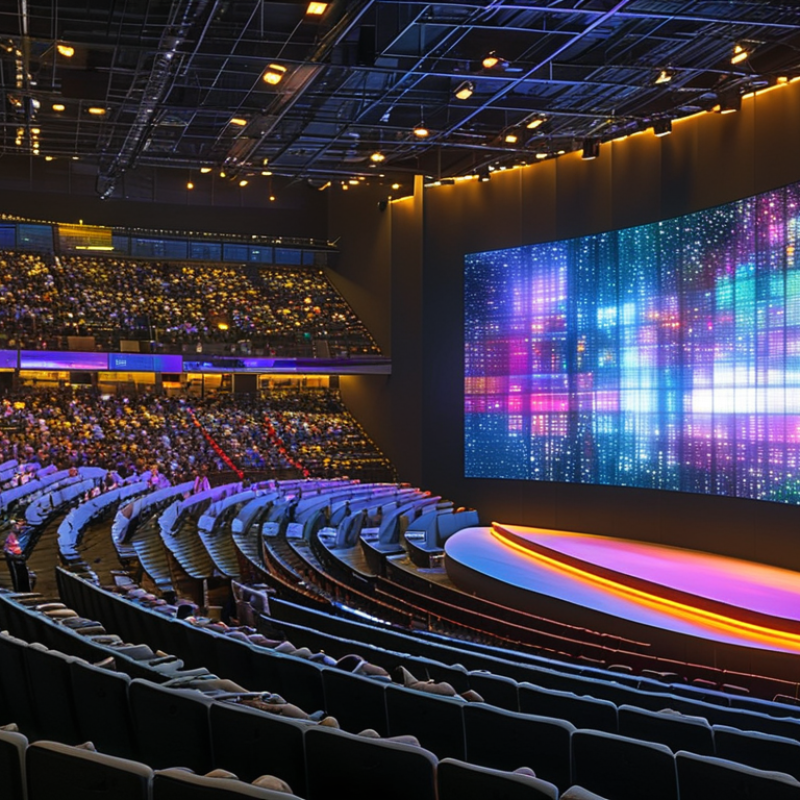
An indoor perimeter LED display screen is a narrow, modular digital panel placed along the boundary of an indoor sports court or arena. It usually sits beside the playing area, facing spectators and cameras. Unlike a standard wall display, it follows the venue’s perimeter and presents content across multiple connected cabinets.
It is not a television. The screen uses small light-emitting diodes to show scores, advertisements, announcements, and animated graphics. A soft protective surface can reduce impact risks near active play. High refresh rates also help cameras capture cleaner images without visible flicker. Brightness matters too, but excessive brightness may distract players or make close spectators uncomfortable.
In practical venue planning, viewing distance should guide pixel pitch selection. A smaller pitch can produce sharper images, while a wider pitch may reduce costs for distant seats. Measure twice. Check cabinet dimensions, ventilation, power access, signal control, and maintenance space before ordering. Common mistakes include ignoring sightlines behind goal areas or choosing a rigid structure for a curved boundary. Not every venue needs one. A reliable installation should include stable mounting, safe cable routing, clear operating controls, and tested emergency procedures. Content should remain readable within seconds, even when viewers are moving through the stands.
| Selection Dimension | Recommended Specification or Range | Why It Matters | Practical Check |
|---|---|---|---|
| 1. Intended Use and Location | Indoor sports venues, arenas, event halls, studios, retail spaces, or other controlled-light environments. | An indoor perimeter LED display is a modular, narrow-format LED screen installed around the boundary of a playing or viewing area to show advertisements, scores, messages, and graphics. | Confirm the mounting position, available wall or floor space, audience sightlines, and local installation requirements. |
| 2. Pixel Pitch | Approximately 2.5–6 mm for most indoor viewing conditions; use a smaller pitch when viewers are closer. | Pixel pitch affects image detail and the minimum comfortable viewing distance. Smaller pitch generally provides finer image quality but can increase cost. | Measure the nearest audience distance. A commonly used estimate is minimum viewing distance in metres ≈ pixel pitch in millimetres. |
| 3. Brightness and Light Control | Typically about 800–1,500 nits for indoor applications, with adjustable brightness and automatic dimming preferred. | Excessive brightness can cause glare, while insufficient brightness can reduce visibility under strong venue lighting. | Check the venue’s ambient light levels and verify that brightness can be adjusted for daytime, evening, and broadcast conditions. |
| 4. Refresh Rate and Image Performance | At least 1,920 Hz for general indoor content; 3,840 Hz or higher is preferable for fast motion and camera-based production. | A higher refresh rate helps reduce flicker, scan lines, and visible artifacts when displaying moving content or recording with cameras. | Request camera test footage or conduct an on-site test using the same cameras and shutter settings used by the venue. |
| 5. Viewing Angle and Cabinet Design | Prefer a wide horizontal and vertical viewing angle, commonly around 140° or more, with lightweight cabinets and flexible installation options. | Perimeter displays are viewed from multiple angles. A wide viewing angle helps maintain color and brightness consistency around the venue. | Inspect the screen from the centerline, corners, and elevated seating areas before finalizing the layout. |
| 6. Protection and Safety Features | Use impact-resistant protection, padded edges, stable supports, flame-retardant materials, and suitable electrical safety protection. | Sports and event environments may expose the display to accidental contact, vibration, cable movement, and frequent installation changes. | Check protective masks, edge padding, locking systems, grounding, cable management, and compliance documentation. |
| 7. Maintenance, Reliability, and Operating Cost | Choose front- or rear-service access as required, modular replacement, efficient power supplies, monitoring functions, and a stated LED lifetime commonly around 80,000–100,000 hours under specified conditions. | Easy maintenance reduces downtime and labor costs. Actual lifetime depends on brightness, temperature, operating hours, and installation quality. | Review spare-part availability, service access, power consumption, warranty terms, monitoring software, and preventive-maintenance procedures. |
| General guidance: The final specification should be confirmed through an on-site survey because viewing distance, ambient light, content type, camera requirements, ventilation, mounting conditions, and operating schedules vary by venue. | |||
"*" indicates required fields